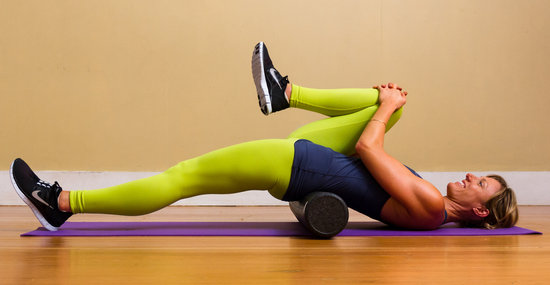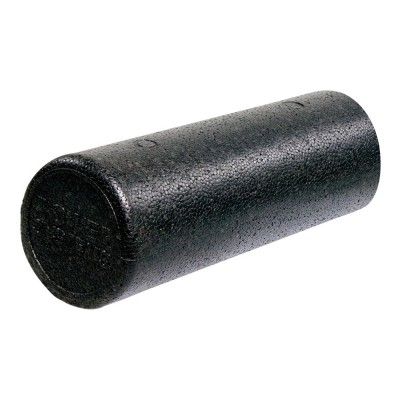
So you’ve decided to use a foam roller with your patients – here are seven specific exercises to target the muscles most likely to produce the highest benefit from foam rolling.
As Chiropractors it is easy for us to modify the pressure we exert through massage and trigger point work when working with a patient over vulnerable areas of the body such as the neck and shoulders. But because a patient’s body weight is used to apply pressure onto trigger points with the foam roller it is best suited to manipulate only large muscle areas, and not sensitive areas like the muscles surrounding the cervical spine.
When using foam rollers with your patients follow these key points to ensure use is safe and effective in releasing trigger points and tight muscles:
- With each foam roller exercise – roll slowly back and forth over the painful or stiff area of the muscle for between 30-60 seconds. The patient may feel the trigger points themselves as small, sensitive bumps – focus your attention on rolling directly over these spots and then stopping and applying pressure over the muscle spasms.
- Avoid rolling over any bony areas (knees, ankles, hip bone etc).
- To release particularly troublesome trigger points and tight muscles try to roll these areas two to three times a day.
- To prevent trigger points from coming back try to use the roller two to three times a week over vulnerable areas (where trigger points have existed before, or over very active muscles that may be prone to developing trigger points such as the erector spinae muscles for office bound workers)
- Use a similar pain or ‘discomfort’ scale as you would with stretching – if ‘1’ was no discomfort and ‘10’ was maximal pain then try to work within the moderate ranges of 4 – 7 depending on what you or your client are able to tolerate.
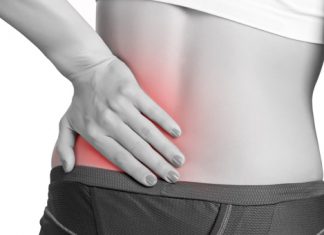
While there are many different foam rolling exercises, here is a list of seven of the best exercises targeting the largest muscle groups in the body that are especially prone to developing trigger points. By working and releasing tension in these areas it will help to alleviate low back tension and muscle tightness.
1. Erector Spinae Roll
With this exercise it is important to keep the feet on the floor and for beginners to keep their backsides on the floor to help limit the amount of weight being placed on the roller.
Roll up and down the erector spinae muscles and concentrate on rolling over areas that are particularly stiff and sensitive. To allow more pressure to be exerted the backside can be raised off the ground thus putting more bodyweight onto the roller.
To avoid straining the neck muscles it may help to support the head with the hands as shown here. Alternatively this exercise could be performed standing against a wall.
A long foam roller can also be used lengthways to roll the erector spinae muscles as shown here. When using the foam roller like this however care would need to be taken to avoid putting direct pressure on the spinous process’s of the spinal vertebrae (the prominent parts on the vertebrae that stick out and are vulnerable to injury)
The erector spinae roll is likely to be particularly effective for office workers who spend hours stuck behind their computer screens and / or manual workers who do a lot of bending and lifting during their working day.
2. Gluteal Roll
With this exercise it is important to keep the feet and hands on the floor to control the degree of pressure that is directed onto the gluteal muscles.
Place the foam roller under the backside. Roll up and down over the gluteal muscles focusing on any particularly stiff and sensitive areas.
Both ‘cheeks’ can be rolled over at once or to limit the pressure and / or focus on particular areas of the muscle one ‘cheek’ can be focused on at a time as shown in this picture. The gluteal roll is likely to also be particularly effective for those sedentary workers confined to sitting on a chair all day.
3. ITB Roll
The ‘ITB’ or Iliotibilal band is not a muscle but a fibrous band of tissue that runs from the hip down the outside of the thigh to the knee. Regular exercisers (especially cyclists, runners and people who do a lot of leg exercises such as squats and lunges) are prone to developing pain and stiffness in their ITB’s as well as trigger points in the muscle underneath.
The ITB can thicken and tighten pulling on the knee and hip and it can adhere to the muscle underneath, all of which can result in pain.
Not only can the foam roller be used to release trigger points in the thigh muscles underneath the ITB it can be used to release adhesions of the ITB to the underlying muscle and reduce tension in the ITB.
With bodyweight supported by feet and hands, place the foam roller underneath the outside of one thigh. Roll up and down the outer thigh as shown above, focusing on particularly stiff and sensitive areas.
In many people the ITB is very sensitive so be careful to ensure that rolling remains within the 4-7 out of 10 pain threshold and that the bodyweight is well supported to enable this.
4. Quadriceps Roll
With this exercise the majority of body weight will be supported by the arms. Feet can be kept on the floor initially to enable more control over the amount of pressure exerted on the trigger point. When comfortable with this exercise the feet can be raised off the floor to enable greater pressure to be exerted on the trigger point(s).
Place the foam roller underneath the thighs as shown adjacent and slowly roll up and down the thighs focusing on any especially stiff and sensitive areas.
5. Hamstrings Roll
In a sitting position place the foam roller underneath the back of the thighs. Support the bodyweight primarily through the arms and roll up and down the posterior thigh, paying particular attention to any stiff and sensitive areas.
Beginners can keep their feet on the floor to limit the amount of pressure that is exerted on any trigger points. The feet can be raised of the floor to allow more pressure to be exerted within the ‘4-7’ pain threshold.
6. Calf Roll
The last two foam rolling exercises focus on the lower leg muscles. Excessive tightness and trigger points in these muscles are most likely to exist in clients that run and walk regularly for long distances.
In the same sitting position as the hamstring roll, place the foam roller underneath the calf muscles on the back of the lower leg. With bodyweight supported by the arms slowly roll up and down over the calf muscles, paying particular attention to particularly stiff and sensitive areas.
7. Shin Roll

Supported initially on all fours as shown here, place the foam roller just underneath the knee (remember to avoid rolling over bony structures).
Slowly roll up and down over the shin muscles paying particular attention to any particularly stiff and sensitive areas, and remember to always work within the acceptable pain threshold.
If you are looking for which foam roller to use, read our review on the Body Sport’s Foam Roll or go to MeyerDC to purchase your foam rollers for doctors only pricing.
Source: PT Direct


